
*Updated on August 23, 2018
This site contains affiliate links (See full disclosure here.)
Before you Start Your Blogging Routine
Hopfully you have already set up your blog, and now you are ready to start a regular blogging routine. If you have not set up your blog, I recommend registering your domain and setting up your blog through the hosting site Bluehost.
If you want more information on how to start a blog, you may find my post “How to Start a Blog when you are Feeling Called to Blog” helpful.
Now that you have set up your blog you will need to do a few things before starting your monthly blogging routine. So here they are!
The 5 Steps You Should Take Before Starting Your Regular Blogging Routine
Step 1
You should get a Facebook, Instagram, and Pinterest Business page and link these pages to your site.
Step 2
You really do want to sign up for Tailwind! Tailwind is a Pinterest scheduler. This has been so helpful for me. I am able to schedule the pinning of my posts to all my pinterest boards months in advance. I am also a member of several Tailwind’s tribes. Members of the tribes basically pin each other’s pins! You can do all this through Tailwind. You can schedule 100 pins for free. They don’t even ask for your credit card for the free trial. Click here to try Tailwind for free. After the free trial, I decided Tailwind was sooo worth purchasing, and I am the type of blogger who uses mostly the free plugins, themes, etc. So this is coming from a blogger who doesn’t purchase much.
Step 3
Purchase the “Pinterest Ninja” ebook! Really, I couldn’t purchase much when I first started. In fact, the only things I really feel like you should purchase in the beginning are:
- Your Hosting Site (I recommend Bluehost)
- Your Domain (Included if you decide to go with Bluehost)
- A Blog Creation Tool, ie WordPress.org (You can set up WordPress through Bluehost)
- Tailwind
- “Pinterest Ninja” ebook
Pinterest in the number one platform to grow your blog, and you will need to know how to use Pinterest effectively. I looked into many courses and ebooks. I knew I wanted one with the best reviews and within my very low budget. “Pinterest Ninja” fit the bill so I purchase it, and I was amazed with how helpful this ebook was. I highly recommend this purchase (and so do many other successful bloggers).
Step 4
You will want to start requesting invites to Pinterest group boards. These are boards where many people pin to the same boards. We also pin each other’s pins. These boards are a great way to get your pins seen. Some group boards are open to any topic, and some are niche specific. For example, I am in a Pinterest group board specifically for dietitians.
Are you looking for a Pinterest group board to join? I have an “any topic” group board called “Best of the Blogs”. To join my group board, just follow “Mindfulness in Faith and Food” on Pinterest and follow all the requirements listed at the top of the “Best of the Blogs” board. To request a group board invite, just send me your Pinterest Profile URL through the “contact me” form on Mindfulness in Faith and Food.
I also have a niche specific Pinterest board called “Mindful Living, Health, Wellness, and Faith.” This board focuses on the wellness of the whole body: mind, body, and spirit. If you talk about any one of these topics, feel free to contact me.
Step 5
Next you will want to start requesting invites to Facebook blogging group boards. Like Pinterest boards, some group boards are open to any topic, and some are niche specific. I am a member of several faith-based blogger group boards as well as dietitian blogger group boards. I am also a member of a faith-based nutrtion group board. Talk about specific. Bloggers support each other on these boards. You can ask your questions, share blogging experiences and opportunities with each other, and read and share each other’s blog posts.
I also have a niche specific Facebook group board called “Mindful living, Health, Wellness, and Faith Bloggers.” Similar to my niche specific Pinterest board, this group focuses on the wellness of the whole body: mind, body, and spirit, and is open to bloggers who talk about any one of these topics. You can apply to join this board here.
On a personal note, I try to write Facebook comments about other blogger’s posts often, instead of always talking about and promoting my blog. I know how much it means to get that comment on your blog so I try to do this for other bloggers. I noticed something interesting when I started doing this. Although I was trying to support someone else’s blog, bloggers started supporting my blog in return. So I recommend you do this as well. Don’t do it expecting someone to recipicate. Genuinely support other blogs, and eventually you will notice others supporting you as well. One of the many reason I love blogging is that other bloggers are not the competition. Engaging and supporting each other actually helps your blog become more successful! Isn’t blogging a beautiful way to make extra income?
Step 6
If you are interested in monetizing your blog, you may want to apply to become a blogger affiliate associate. A blogger affliate associate is someone who partners with a company and promotes the company’s products on their blog. When someone buys something after clicking on the company’s link in your blog post, the blogger affiliate gets a commission from the sale. The Share-A-Sale affiliate program has become one of my favorites. I like Share-a-sale because you get to pick which companies you want to partner. Because Share-a-Sale has over 4,500 companies, you get to pick the companies and products you love and use. I only write about products I naturally talk about in my blog, and I only choose companies I actually love. Some of the merchants include Etsy, Tailwind, and even Share-a-Sale. Yes, I said Etsy! You can fill out an application with Share-a-sale here. After you join Share-a-Sale, browse the companies and apply to partner with the individual companies you love.
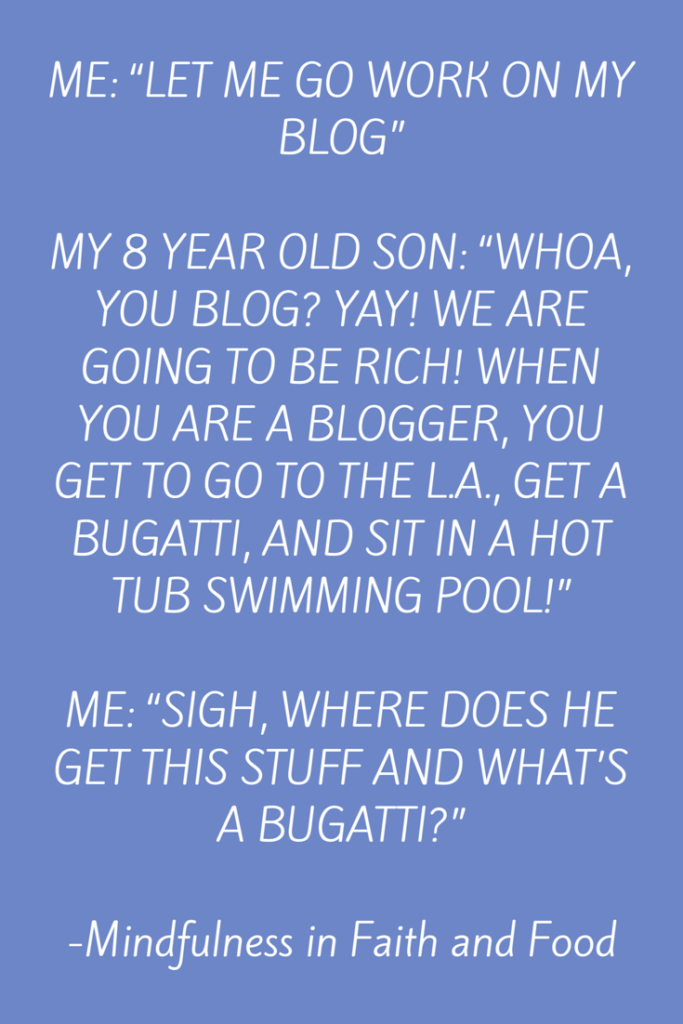
I definitely don’t make enough to get a Bugatti (not even close!) and move to THE LA, like my son says, but it’s nice to be able to make a little money on the side.
So now that you have these important tools in place, you can get into a writing and promoting routine.
What I Do the First Week of Every Month
The first week of every month, I write several blog post drafts. I keep these posts in draft form until I am ready to post. I often write 4-5 posts that are related to each other in a series.
But before I start writing each Blog post, I try to remember to pray. I pray that I am still following God and not just my own wants, and I pray that I say the things God wants me to say. I pray that my blog finds the people who need to read them and helps somehow.
If you have read some of my past blogs, you know I like to practice mindfulness. I feel that pausing to pray is a way to stay mindful of God’s presence and a way to stay mindful of THAT very moment. When I pray before I blog, I focus on the joy of blogging and live in the moment.
After I have written 4-5 individual posts, I am ready to post one blog post each week.
By the end of week one, I am ready to post one of the drafts. I pick one to post, and then I follow the steps below. I do these same steps each week for the blog posts I have pre-written.
My Weekly Routine
Step 1:
Proof read my blog post
Step 2:
Add pictures to the Blog by uploading my pictures or using ImageInject. ImageInject is a plugin on my page. With ImageInject, I am able to easily search for free images and photos and insert them into my blog.
Step 3:
Add any links to my past-related posts.
Step 4:
Add an affiliate disclaimer at the top of the post. An affiliate disclaimer just lets the reader know that you will get a small commission if someone purchases a product you mentioned in your post by clicking on the link on your site.
Step 5:
Add a Copyright note at the bottom of the post.
Step 6:
Add any affiliate links for products discussed in my post. (My affiliate program recommendation is Share-A-Sale)
Step 7:
Scroll down to the Yoast SEO notes at the bottom of the blog. I make corrections to my blog based of the Yoast SEO suggestions. Yoast SEO is a plugin that makes your post as search-friendly as possible.
Step 8:
Change my Meta Description. A Meta Description is a snippet that summarizes your blog post content. The search engine shows this description under the title when the searched phrase shows up in the description. You are more likely to pop up when someone searches for your blog topic when you have an optimized meta description.
Step 9:
Add tags to the post. Tags are a list of the specific items/subjects discussed in your post. The Tags are keywords and points you have discussed in the blog post. When you are reading a blog, tags are often listed at the bottom of a post to help you see all the topics and items discussed in the individual blog post.
Step 10:
Develop Pinterest friendly graphics and Instagram friendly graphics. You want your Pinterest Graphics to be vertical images. You can create these graphics using apps like Canva. Add these graphics to your blog. When you upload the Pinterest graphic, make sure you add subject words about your pin to the “Alt tags” of your pin image. (There is a spot to do this in WordPress)
Step 11:
Hit the Publish button. Your blog post is now live!
The Next Steps Involve Promoting your Blog:
Step 12:
Share your blog on your personal and business Facebook pages.
Step 13:
Remember that Pinterest image we developed in step 9? You can post that graphic straight from Canva to Pinterest. Once you have posted your Pinterest pin to a board, you have to add your link to the image. You can do this under the little edit pencil on your pin. You should add a great description while you are editing as well. Remember you can now use hashtags in your Pinterest descriptions. This will help your pin show up when people are searching in Pinterest. If you have added the pinterest image to your post, you can also pin your blog straight from your blog using your pin buttons (You can find a free plugin on WordPress that will add sharing buttons on your posts).
Step 14:
Use Tailwind to schedule your pin to be posted on additional boards.
Step 15:
Add your Pin to Tailwind’s tribes, and schedule other bloggers pins on Tailwind.
Step 16:
Support other bloggers in your group boards by pinning their pins to your own Pinterest boards.
Step 17:
Post the image you created for Instagram on my Instagram page. Again, you can post this image directly from Canva.
Step 18:
Promote your post on all your Facebook blogger group boards. I made a list of all my Facebook group boards and all the participation threads of each group. I put this list in a clear notebook sleeve. Next, I use a dry erase marker to mark when I am finished with a Facebook group thread. The marker will wipe right off of the sleeve when I am finished so that I can use the Facebook group thread list again for the next blog posts.
When I am participating in Facebook group threads, I want to genuinely support other bloggers. I try to carefully read and provide authentic and encouraging comments to other blogger posts. If you are looking for a Facebook group board to join, I have a niche specific board called “Mindful Living, Health, Wellness, and Faith Bloggers.“ If you talk about any one of these topics and would like to join this group board, you can request to join here.
Step 19:
Email your subscribers about your new post. Tell your subscribers a little about the post and about anything new or interesting happening on your blog. Mailchimp is my email marketing company. You can use Mailchimp for free for up to 2,000 subscribers. Here is another tip. Some of my post offer free printables for signing up to Mailchimp. When someone joins the Mindfulness in Faith and Food Family, they get three free printables: the 7-Day Mindul Planner, the Healthy Lunchbox Checklist, and the Mindful Lunch Box Notes.
You Are Finished! Now What?
Step 1-18 usually takes a whole week. When I have finished with steps 1-17, it’s time to post another blog and go through the steps again.
The ways you can promote your blog are endless. You can use Bloglovin’, Twitter, G+, Mix, and so much more. I have done a little with these, but I would like to do more at some point. My advice would be to promote on just a few Social Media sites, especially Pinterest at first. You don’t want to get too overwhelmed when you are first starting out as a blogger. You can build a following much better if you put most of your energy in just a few areas.
And there you have it, my blogging routine. I hope you have enjoyed this series. Are you interested in starting a blog? I would love to hear your thoughts and ideas!
Related Post from this Series
How to Start a Blog When You Feel Called to Blog
Are These Signs From God? A Call Story
What is God Calling you to Do?
Did God Give you a Passion for a Reason?
Hearing & Answering God’s Call: Too Unbelievable to Just be Coincidence
Copyright © 2017 Mindfulness in Faith and Food. You are free to retain any and all content here for personal use, but need permission to use it anywhere else on the internet.
This blog is hosted by Bluehost.